大概在一个月前开始接触模式识别、人工神经网络、图像识别方向。
从Matlab开始一边理解神经网络层一边看代码跑了最基础的MNIST识别手写数字的代码,中间遇到了很多问题,比如说在图像处理方面CPU远不及GPU强而在IO读写上CPU又很占优势。当我在进一步学习卷积神经网络的过程中发现了Matlab的强大和不足。在两年前Google爸爸出品了TensorFlow这一深度学习开源框架。历经2天1夜13次重装系统。。。所以为什么要怒发教程,你懂的。话不多说直接开配!
requirements
- Ubuntu-16.04
- python-2.7
- cuda-8
- cuDNN-5.1
经过不断踩坑的安装,终于google到了靠谱的方法,首先检查你的NVIDIA VGA card model
Ctrl+Alt+T 打开终端 输入:
|
|
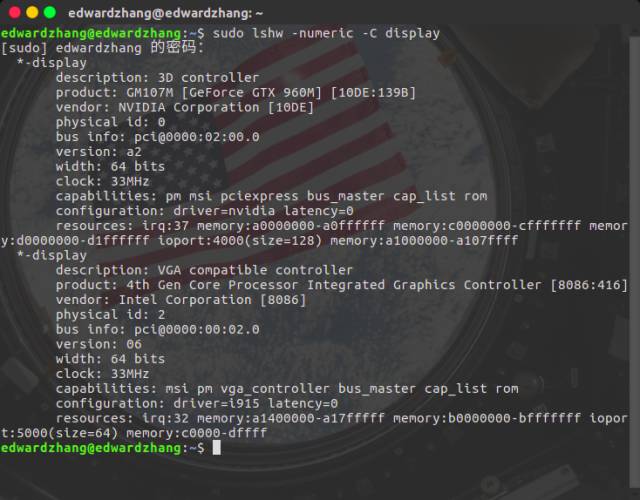
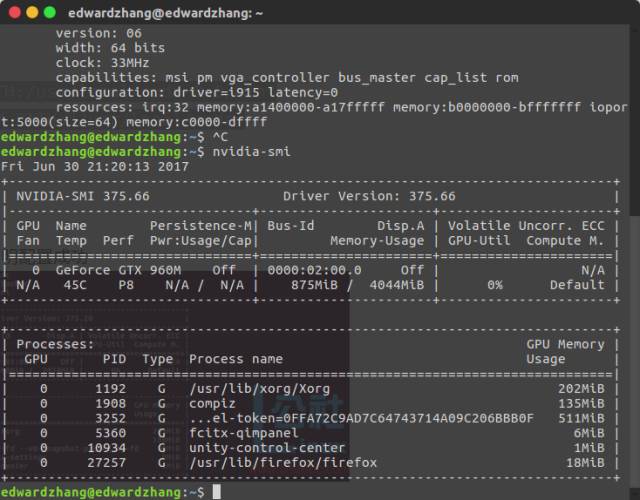
可以看到你的显卡信息,比如我的就是
product: GM107M [GeForce GTX 960M] [10DE:139B]
找到 系统设置->软件更新->附加驱动
查看和上面GPU型号相对应的显卡
选择最新的显卡驱动并点击应用更改
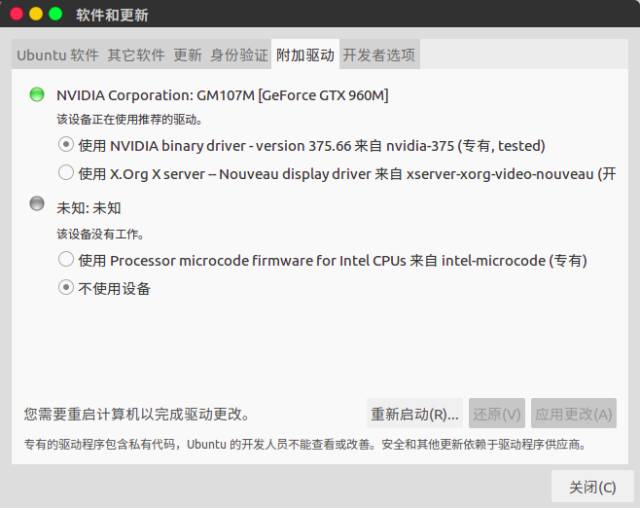
然后喝杯咖啡静候应用更改完成
输入以下命令:
|
|
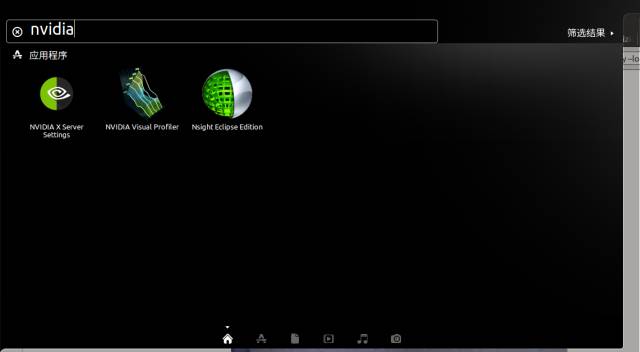
安装完成之后,重启电脑,驱动应该就完成了!
你可以在dashboard上搜索nvidia
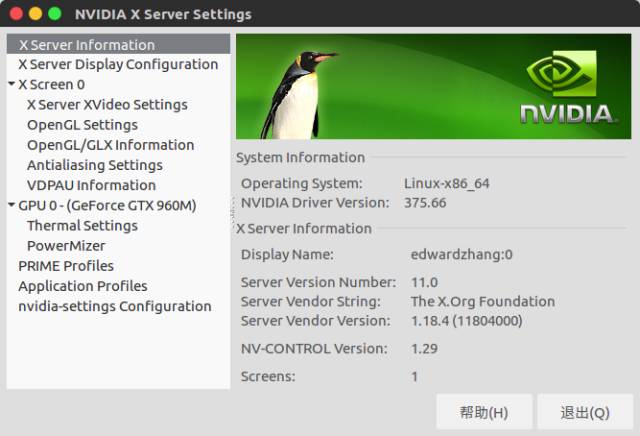
看到像 NVIDIA X Server Settings的东西
就说明安装驱动成功了
接下来就该安装cuda8
安装cuda8
首先也是去下载cuda toolkit 8.0
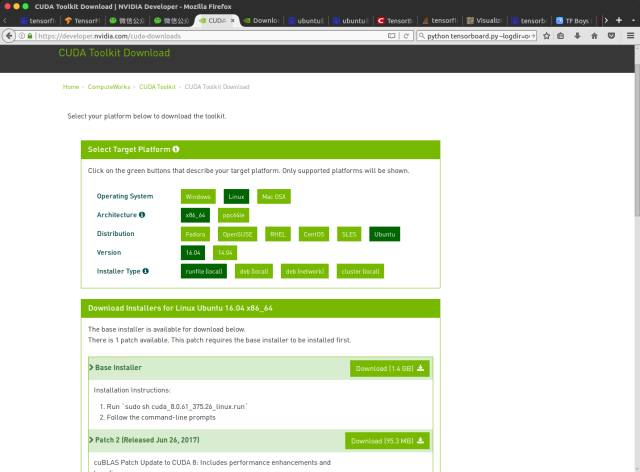
老铁!看我的教程就按我的来!照着图好好选!
一定要选择runfile.下载完成之后,执行
|
|
然后就进入安装过程
开始都是End User License Agreement
你可以CTRL +C 跳过
然后accept,下面就是安装的交互界面
开始的Install NVIDIA Accelerated Graphics Driver for Linux-x86_64 375.66?
选择n,因为你已经安装驱动了。
|
|
配置cuda环境变量
|
|
结果出现以下输出,说明配置成功
安装深度学习库cuDNN-v5.1
首先下载cuDNN5.1,直接下载,注意前提是你已经注册为开发者了!
解压:
|
|
然后将库头文件Copy到cuda目录
|
|
安装tensorflow gpu enable python 2.7 版本,详见官网
|
|
全部结束 谢谢观看!
现在就可以放心的开始你的深度学习之路了

不要觉得好容易。。。都是几十遍血的教训成就的!
之后我会继续更新个人公众号,发布一些自己在深度学习方面的见闻。